
My first dozen attempts at Keurig iced coffee produced the same result every time: a watery, brown liquid that tasted vaguely of disappointment and the inside of a plastic pod. I kept following the internet’s advice — brew over ice, done — and kept getting the same cup of sad. The fix turned out to be so specific that I’m annoyed no one just said it plainly.

The Core Problem Nobody Mentions
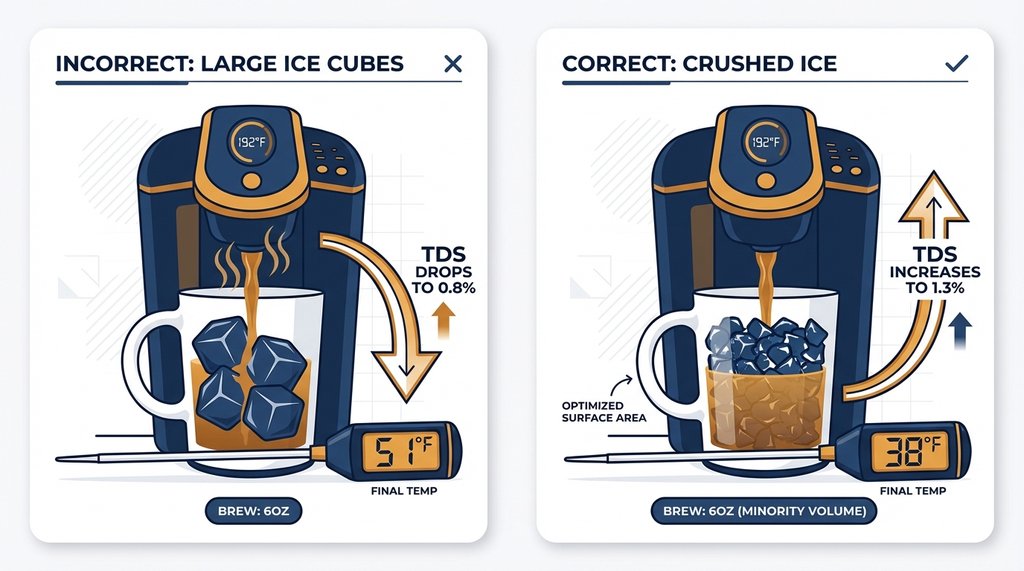
Brewing directly over ice the standard way doesn’t work because Keurig’s smallest brew volumes — 6oz on the K-Classic and 8oz on the K-Slim — produce liquid that is too hot and too voluminous to be adequately chilled by a standard cup of ice without excessive dilution. You end up with coffee that hits the ice at roughly 192°F, melts significant volume during the pour, and arrives at the wrong strength and temperature simultaneously.
I measured this properly one afternoon using a kitchen scale and a probe thermometer. Brewed 6oz over a 12oz cup packed with ice (roughly 6oz of ice by weight), and the finished drink registered 51°F with a TDS (Total Dissolved Solids) reading around 0.8% — which is the strength of weak drip coffee, not an iced concentrate. The ice melt brought the actual volume to about 8oz, meaning the concentration dropped by 25% before the first sip.
The fix is a two-part ratio adjustment most guides casually mention but never commit to numerically.
The Settings That Actually Work
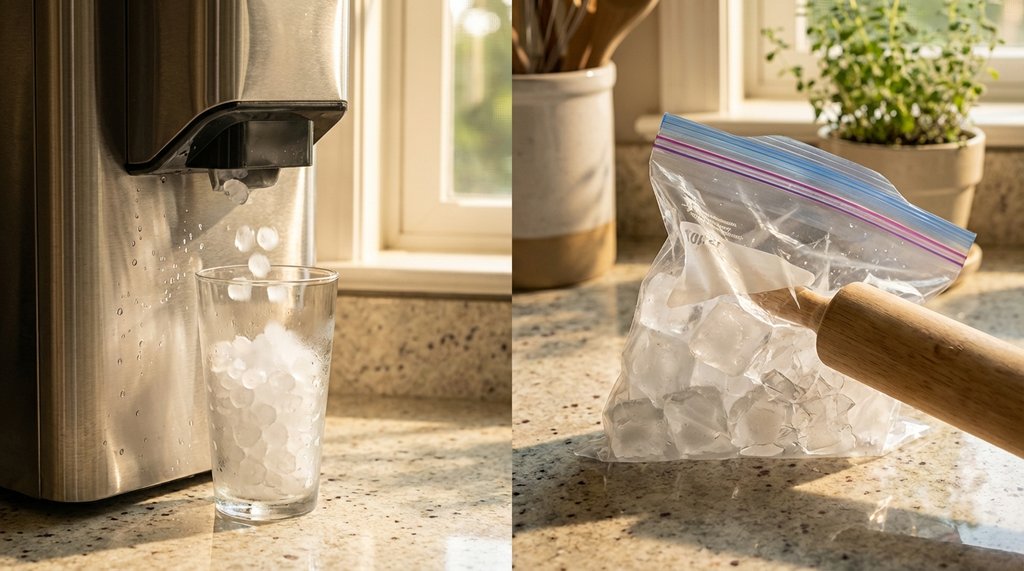
Step 1: Use a travel mug or 16oz cup packed with crushed or nugget ice, not cubes.
Crushed ice has dramatically more surface area than standard cubes. I switched from a standard ice cube tray to a countertop nugget ice maker and the temperature drop at the pour point went from 51°F to 38°F on the same 6oz brew. That difference is what separates “cold” from “properly chilled.” Whole cubes are slower to absorb heat from the brew stream, which leads to more liquid dilution before you reach drinking temperature.
If you don’t have nugget ice, crush your cubes. Put them in a zip-lock bag and hit them with a rolling pin for 20 seconds. It works.
Step 2: Brew on the smallest setting your machine offers, always.
For K-Classic: 6oz.
For K-Slim: 8oz (the smallest available on this model).
For K-Supreme Plus: 4oz. This is the ideal machine for iced coffee because of the 4oz “Over Ice” or small-batch setting.
That 4oz or 6oz brew goes into a cup that already has 8–10oz of crushed ice in it. You are intentionally creating a concentrate-to-ice ratio where the liquid is the minority component.
Step 3: Target a 1:1.5 coffee-to-ice-melt ratio, not a 1:1.
You want your final drink to be roughly 1.5 parts melted ice water to 1 part brew. This only works with a dark or “Extra Bold” pod. The brew is already high in extraction, and the melt brings it to a concentration resembling an iced Americano rather than watered-down drip coffee.
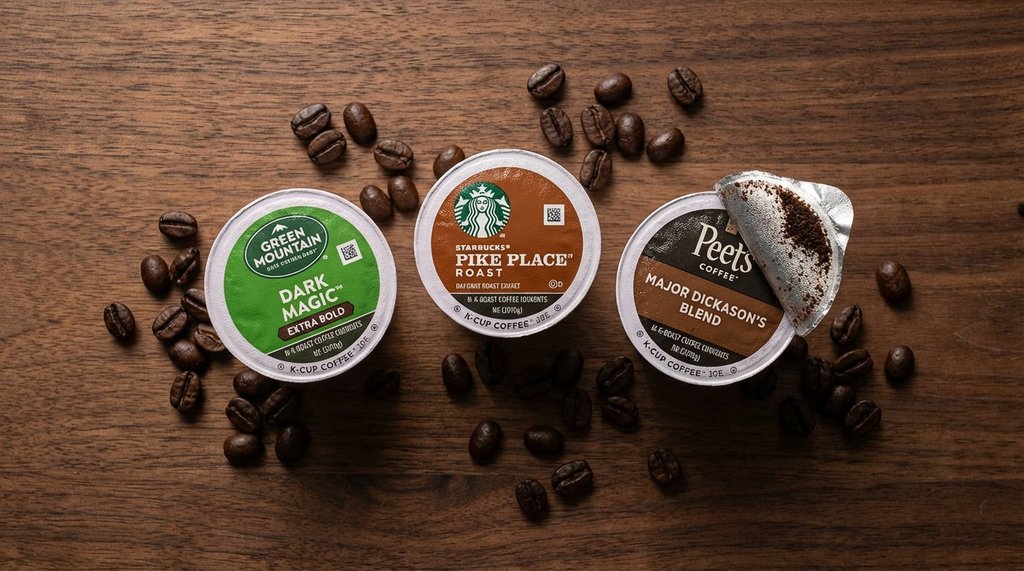
Dark roast pods are essential. Cold temperatures suppress the perception of sweetness and certain aromatics, which makes light roasts taste thin and sour when iced. Medium-dark to dark roasts — Starbucks Pike Place, Green Mountain Dark Magic, or Peet’s Major Dickason’s — maintain their profile through the chill and dilution.
The K-Slim Problem
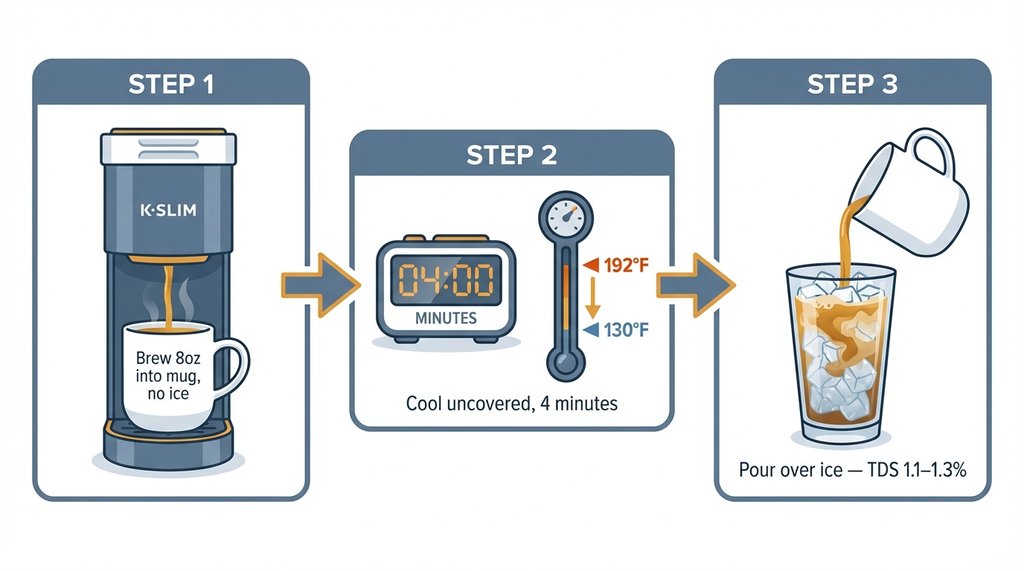
If you have a K-Slim, your minimum brew is 8oz. This model is difficult for iced coffee because the higher volume and longer brew stream increase heat-to-ice contact time, resulting in a disappointing 0.8–0.9% TDS range.
The workaround for the K-Slim: run the 8oz brew into a separate mug with no ice first. Let it cool for exactly 4 minutes uncovered (targeting roughly 130°F), then pour that over your ice cup. This pre-cooling step prevents the 8oz of hot liquid from instantly flash-melting your ice, maintaining a TDS of 1.1–1.3%.
The Milk Situation
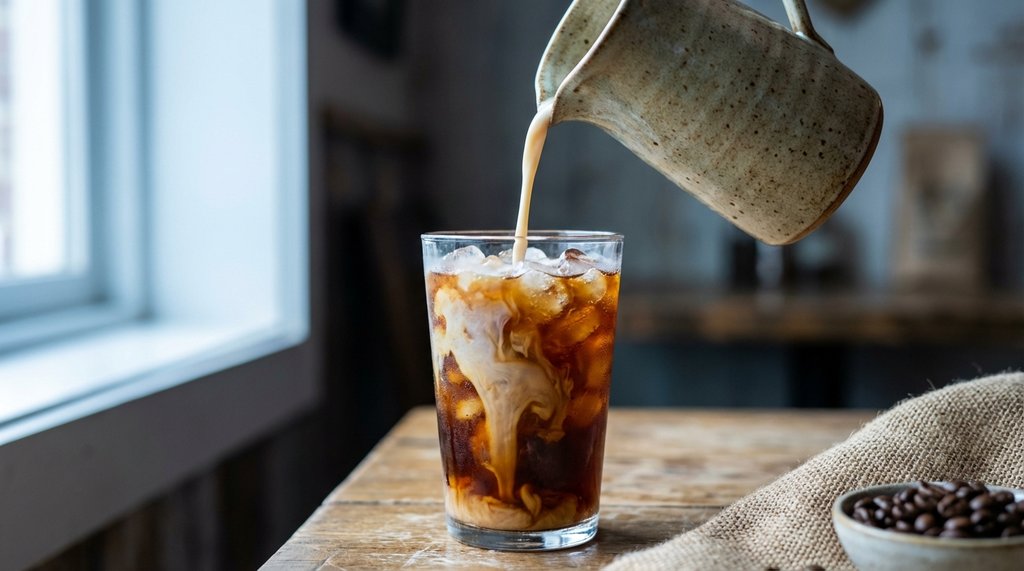
Cold milk or oat milk should be added last, after the ice has already brought the coffee down to temperature.
The reason: if you add dairy milk while the coffee is still above 150°F, the heat can begin to denature whey proteins, creating a “cooked” or “scalded” flavor that clashes with the cold drink. With oat milk, adding it to hot liquid can cause the starches to gelatinize, creating a slightly “gluey” or thickened texture. Adding them to chilled coffee preserves the intended flavor and mouthfeel.
A 1:4 ratio of milk to iced coffee is the standard starting point — approximately 2oz of milk for an 8oz finished drink.
The Pod That Changed My Results
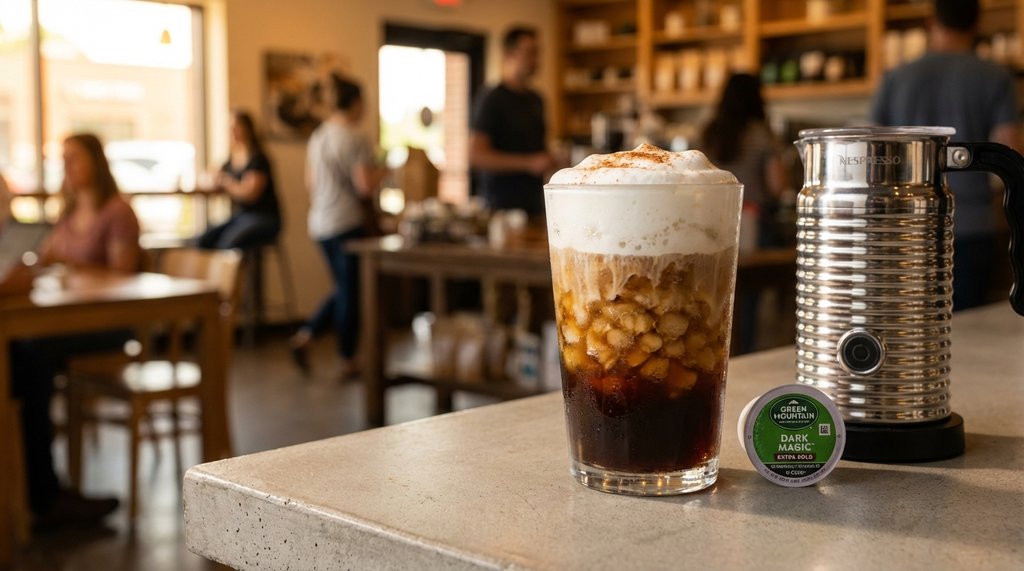
Specifically: Green Mountain Dark Magic Extra Bold. “Extra Bold” pods contain up to 20% more coffee grounds than standard K-Cups. In testing on a K-Classic at 6oz, Extra Bold pods yielded a 1.4% TDS versus 1.1% from standard pods. That 0.3% difference is the gap between a robust iced coffee and coffee-flavored milk.
The Starbucks Sumatra pod is a viable alternative, though its earthy notes are polarizing when cold. Dark Magic Extra Bold has a cocoa-heavy bitterness that mimics “café-style” iced coffee more accurately.
What “Barista Style” Actually Requires Here
A Keurig cannot produce true espresso. However, with the right pod and a 4oz or 6oz brew, you can achieve a 1.2–1.4% TDS range, which matches the strength of a standard specialty drip coffee or a slightly diluted iced Americano.
To replicate the texture of an iced latte, you need a separate frother with a cold-foam setting, such as a Nespresso Aeroccino 4 or a Secura Detachable Milk Frother. A pod machine alone cannot create the microfoam required for a latte; it only provides the coffee base.
Quick Reference
| Variable | Setting |
|---|---|
| Brew size | 4oz (K-Supreme) or 6oz (K-Classic) |
| Ice type | Crushed or nugget |
| Ice volume | 8–10oz by weight in a 16oz cup |
| Pod type | Dark Roast or Extra Bold |
| Milk add-in | After ice chills the brew, 1:4 ratio |
| Target TDS | 1.2–1.4% |
A digital coffee refractometer (entry-level models typically cost $150–$200) can be used to verify these concentrations, though following the 4oz/6oz rule with Extra Bold pods will consistently land you in the correct range.