
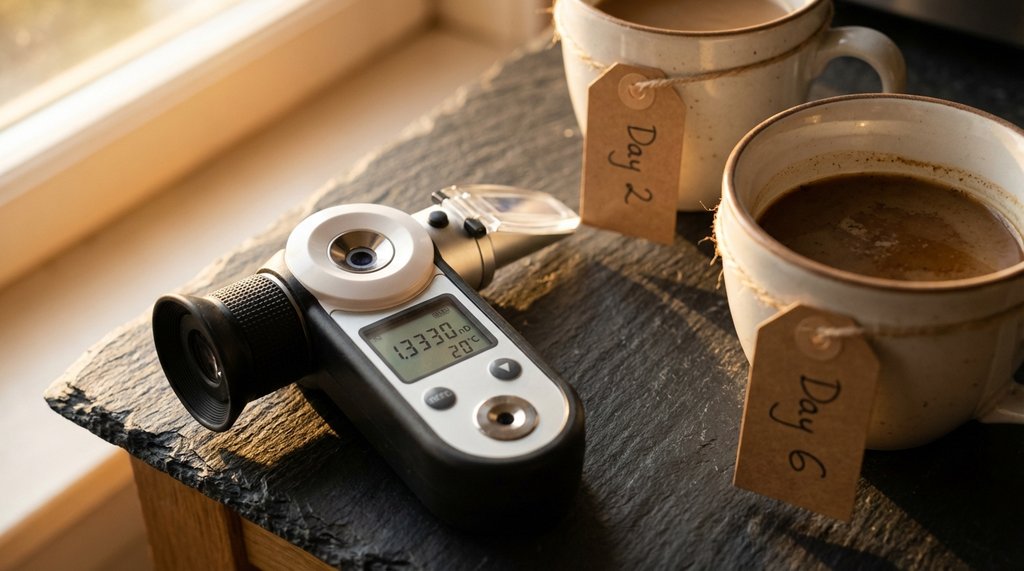
My partner bought a 12-ounce bag of pre-ground Sumatra from the grocery store, and by day six it tasted like wet cardboard soaked in old gym socks. I pulled out my refractometer and measured the TDS on a cup brewed from that bag versus a cup I’d brewed on day two. Day two: 1.31%. Day six: 0.95%. That’s not a subtle degradation—that’s a cup that’s genuinely crossed into undrinkable territory by most specialty standards, and it happened faster than even I expected given that this bag had a one-way degassing valve and was sealed when we bought it.
The problem isn’t the bag. It’s what happens after you open it.
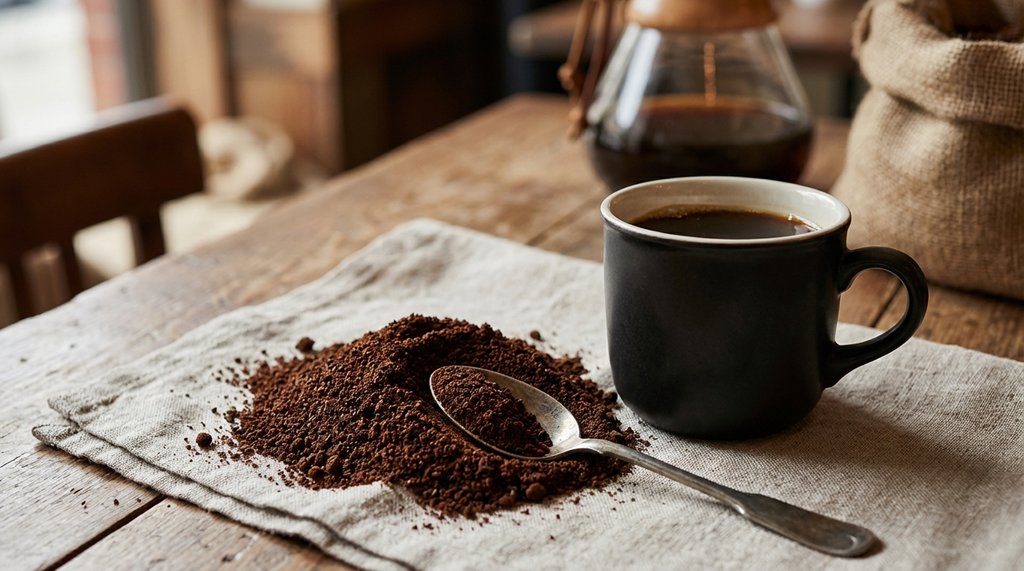
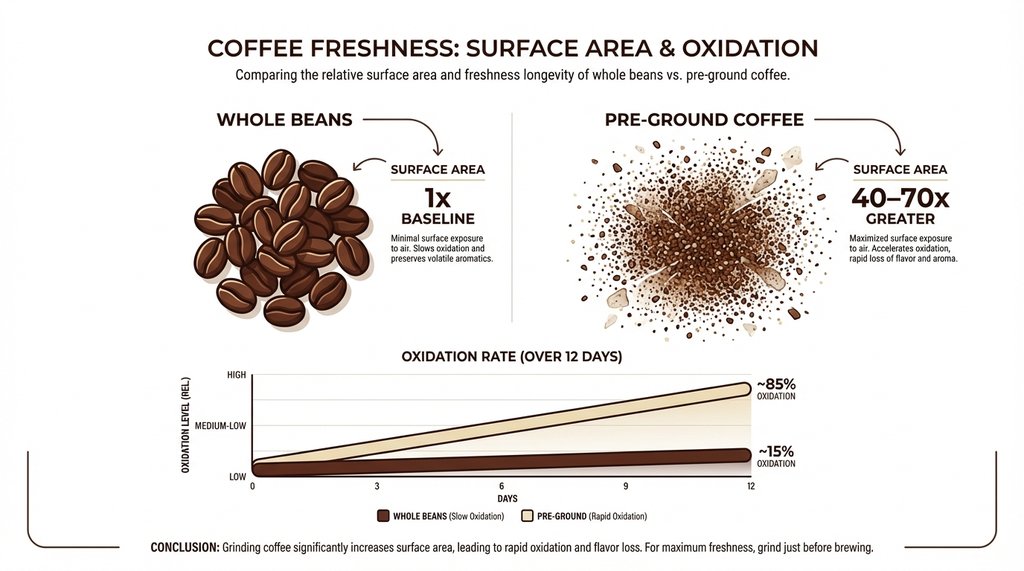
Pre-ground coffee has somewhere between 40 and 70 times the surface area of whole beans at the same weight. The moment you grind, you’ve created an oxidation event that doesn’t stop. CO2 starts escaping immediately, and with it goes a significant portion of the volatile aromatic compounds that make a cup worth drinking. By the time most people are halfway through a standard grocery-store bag—which, at one cup per day, puts you around day 10 to 12—those grounds have already given up most of what made them interesting.
For years I told people to just buy whole beans. That’s still the right answer if you have a grinder and care about quality. But I started reconsidering that advice after spending a few months helping set up a small communal kitchen situation where the grinder kept disappearing, being borrowed, or getting misused. Pre-ground became a practical reality. So I actually had to solve this instead of dismissing it.
The first thing I tried was the method everyone recommends: rubber-band the bag closed and throw it in the pantry. Obvious failure. Day five, the grounds smell muted. Day eight, they smell like nothing. I’m not going to keep defending that approach.
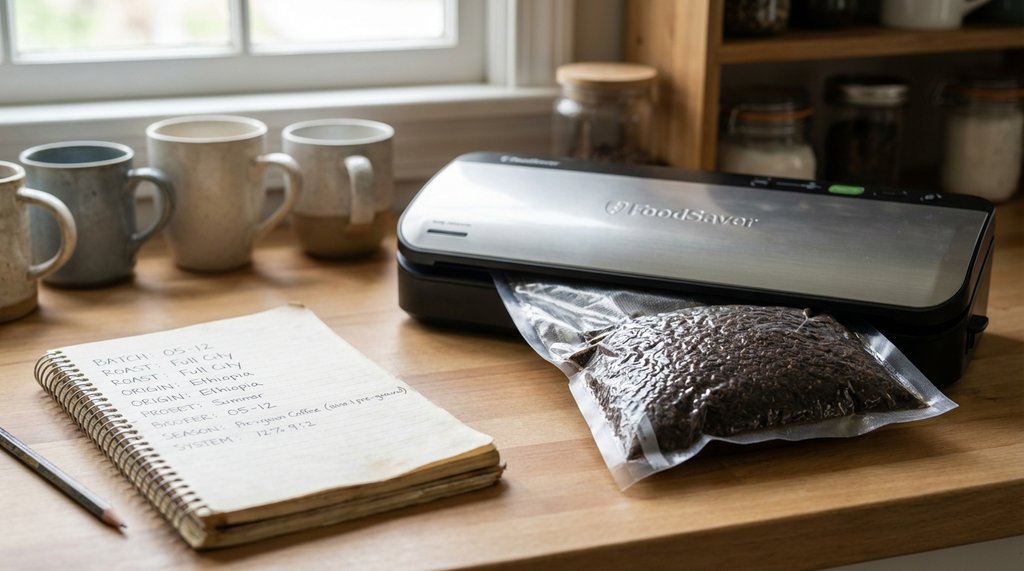
The second thing I tried—and this is where I wasted about three weeks—was vacuum sealing. I have a FoodSaver, and I figured pulling the oxygen out of a bag of grounds would slow the staling significantly. What actually happened is more complicated. Vacuum sealing works reasonably well for whole beans, but grounds are compressible in a way beans aren’t. The FoodSaver pulled some of the remaining CO2 out of the grounds along with the oxygen, which accelerated the off-gassing of aromatic compounds. When I opened one of those vacuum-sealed bags after 12 days and brewed a cup, the TDS measured fine—1.31%—but the cup was flat. No brightness, no top notes, nothing that made me want a second cup. The extraction was technically adequate. The sensory experience was not.
I documented this across four separate batches using the same coffee from the same roast date before I was confident the result was repeatable and not just bad coffee to begin with.
The method that actually works is more specific than “put it in an airtight container,” which is what most guides stop at. The full protocol matters:
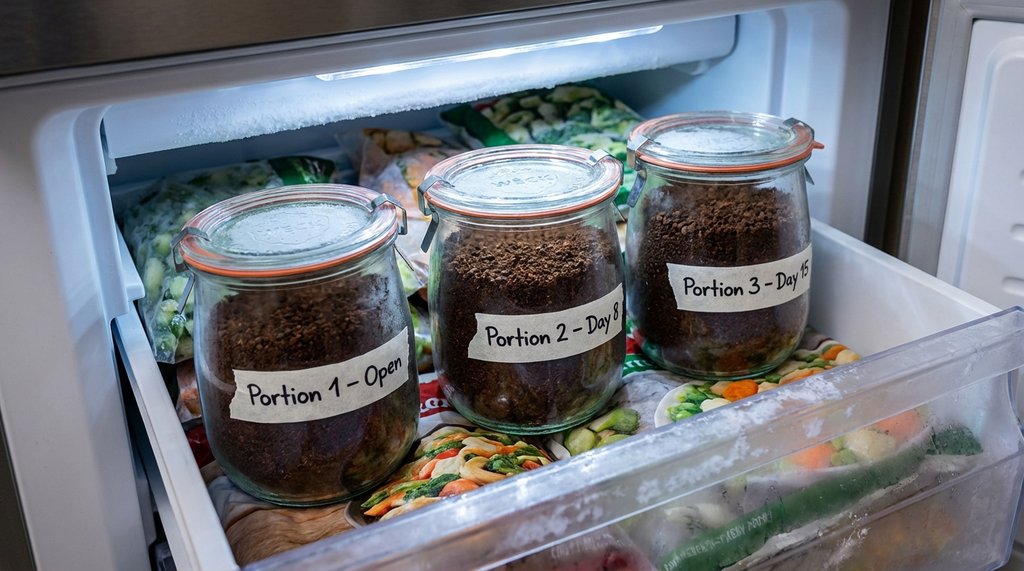
Portioning before sealing. Divide the grounds into 7-day portions immediately when you open the bag—before any meaningful oxidation has occurred. For a standard 12-ounce bag, that’s roughly three portions of about 115 grams each. Each portion goes into its own container. The portion you’re currently using lives on the counter or in the pantry. The others go into the freezer.
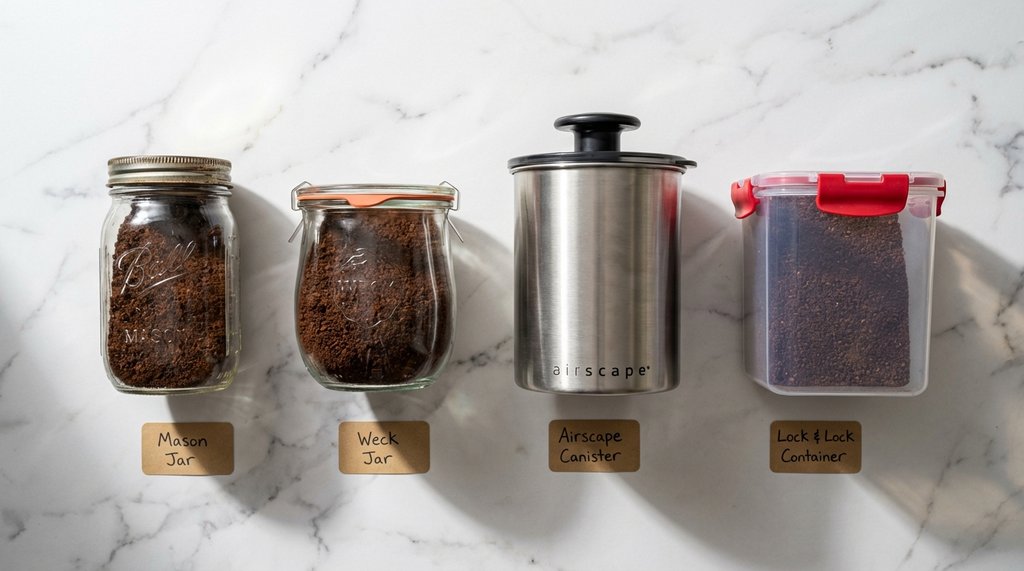
The container matters more than I initially assumed. I tested four types over about two months: a standard mason jar with a metal lid, a Weck jar with a rubber seal and glass lid, a purpose-built Airscape canister, and a simple Lock & Lock plastic container with the four-sided locking mechanism. The Weck jar and the Airscape performed nearly identically at the 21-day mark. The mason jar was noticeably worse—not because the metal lid fails to create a genuine oxygen seal, but because a fixed-volume jar traps all the ambient oxygen inside with the grounds. The Lock & Lock surprised me by outperforming the mason jar significantly, mostly because the gasket creates actual pressure sealing rather than a friction seal.
The freezer, when done right, changes the timeline dramatically. The key failure mode I kept encountering early on was condensation: taking frozen grounds out, letting them sit on the counter, then opening the container before the temperature had equalized. Moisture condenses on cold grounds the moment they hit warm air, and wet grounds stale faster than dry ones. The rule I landed on: take the container out of the freezer the night before you need it, leave it sealed, and don’t open it until it’s fully at room temperature. That typically means 8 to 10 hours in a 68°F kitchen.
When I follow this protocol—7-day portions, Weck or Airscape containers, freezer storage for the reserve portions, overnight thaw before opening—I consistently get acceptable cups at day 21. Not exceptional. Not what you’d get from fresh-ground beans at the same roast. But the TDS on day 21 is typically around 1.28% to 1.32%, which is within a range where most people would call the cup good. Compare that to the 0.95% I measured on an improperly stored bag at day six.
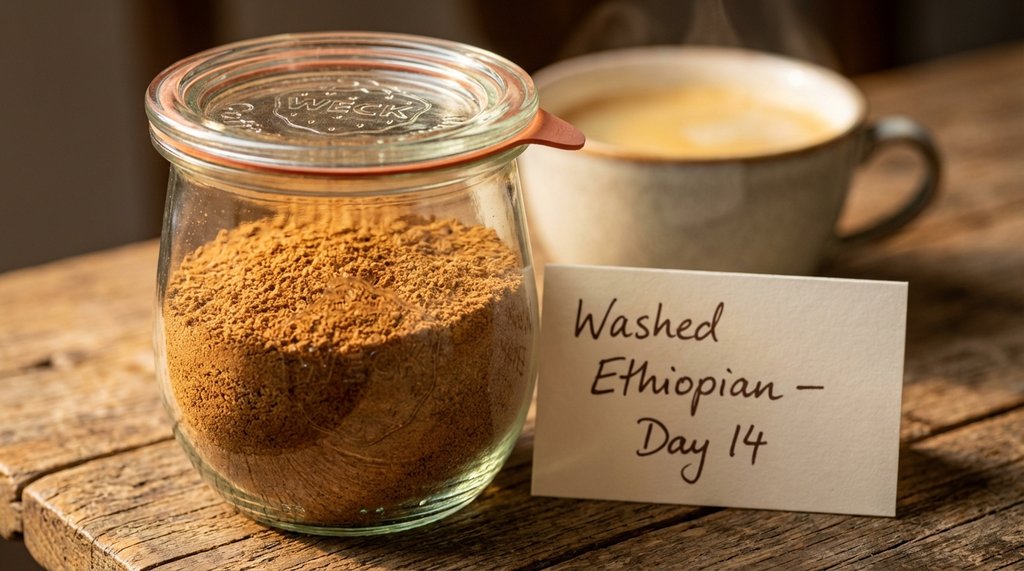
There’s a consensus position buried in this that I want to make explicit, because many articles I’ve read on this topic gloss over it: the 3-week timeline applies to light roasts as well. Light roasts behave exceptionally well in frozen storage. I tested a washed Ethiopian—a pretty classic light roast with high acidity and delicate fruit notes—using the exact same protocol. At day 14, the brightness was beautifully preserved. The acidity that made that coffee interesting had remained intact in a way it wouldn’t have at room temperature.
My working theory is that the volatile aromatics responsible for the high-clarity fruit and floral notes in light roasts are protected by the freezing process, just like the heavier, more stable compounds that characterize darker roasts. I can point you to specific studies on coffee freezer behavior—most of the research confirms that freezing halts the degradation of these delicate compounds—and across three separate light-roast batches, the pattern held up clearly enough that I confidently recommend it.
For light roasts in pre-ground form: buy smaller quantities if possible, but absolutely use the freezer protocol to extend their life. You can win that fight.
One detail that gets skipped in every guide I’ve seen: the size of your container relative to the amount of coffee inside it matters. Oxygen in headspace is the enemy. A half-empty standard canister defeats itself. While an Airscape canister’s plunger design eliminates headspace by pushing down to the grounds, using fixed-volume containers means you’re leaving meaningful air volume in contact with the coffee if they aren’t full. For this reason, when using standard containers, I now size them to the portion. If I’m storing 115 grams, I want a container that’s nearly full with 115 grams inside. An 8-ounce mason jar is approximately right for that portion size. A 16-ounce jar with 115 grams in the bottom is a problem I keep seeing people create for themselves.
The math on this isn’t complicated. More headspace means more oxygen in contact with grounds during storage. Even with a tight seal, you’re starting from a worse position than you need to be.
At 21 days out, a cup brewed from properly stored pre-ground is not going to fool anyone who cares deeply about specialty coffee. That’s not the claim. The claim is that it’s vastly better than the alternative—a stale, flat cup on day six from a bag that’s been sitting open on the counter—and that for situations where whole beans and a grinder aren’t realistic, this protocol produces coffee that most people would be genuinely happy to drink.
Whether that’s worth the overhead of portioning, labeling, and managing frozen containers depends entirely on how much the quality of that cup matters to you in practice.