The third time I repotted my Coffea arabica in eight months, I finally admitted I had no idea what I was doing.
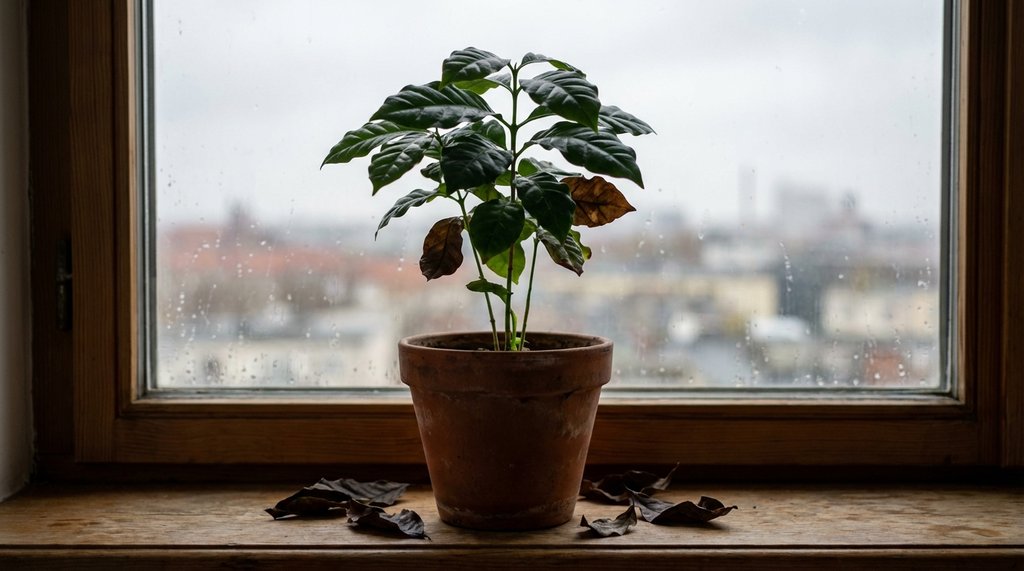
It was November, the plant was sitting in a 10-inch terracotta pot near a south-facing window in my apartment in Portland, and it had dropped 23 leaves in six weeks — I counted, because by that point I was keeping a notebook. No yellowing first, no slow decline. Just a healthy-looking stem one morning and a small pile on the windowsill the next. I’d been growing the thing for two years waiting for it to flower, and instead I was watching it systematically dismember itself.
What I eventually figured out — through some embarrassing trial and error and one very useful conversation with a coffee farmer I met at a plant expo in Pasadena — is that indoor coffee plants fail in remarkably consistent, correctable ways. The leaf drop almost always comes before any flowering attempt, which is why so many beginners never get there. You solve a different problem every month and the beans stay theoretical.
Here’s what I got wrong, and what actually fixed it.
Mistake 1: Treating Humidity Like a Suggestion
Most care guides say “coffee plants prefer high humidity” and then move on, as if that’s actionable information.
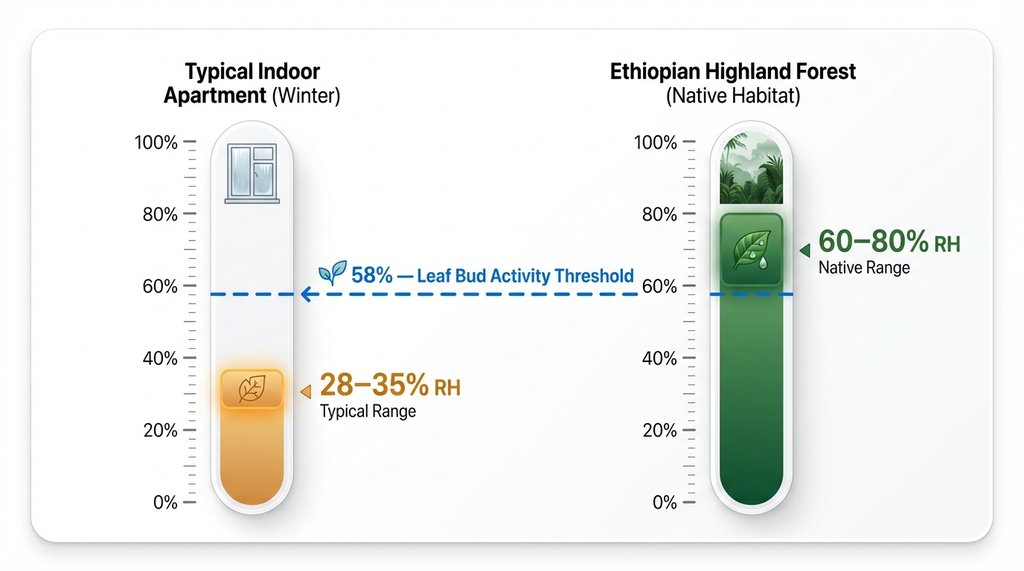
It isn’t. “High” in a Pacific Northwest apartment in winter, with the heat running, means roughly 28–35% relative humidity depending on the day. Coffee plants are native to the understory of Ethiopian highland forests, where humidity stays between 60–80% year-round. That’s not a preference gap — that’s a different climate entirely.
The leaf drop I was experiencing was almost entirely humidity-related. I know this because when I finally bought a $14 hygrometer and put it next to the plant, it read 31%. I set up a humidity tray, positioned a small ultrasonic humidifier about three feet away (not blowing directly at the plant — that causes its own problems, specifically fungal spotting on the leaves), and within five weeks the shedding stopped almost completely.
The number that surprised me: it took getting the immediate microclimate around the plant to a consistent 58–62% before new leaf buds started appearing at the nodes. Not 50%. Not “higher than before.” 58% seemed to be the threshold where the plant stopped treating its own leaves as expendable moisture reserves.
Misting doesn’t work, by the way. I know everyone recommends it. I misted twice daily for three months and the hygrometer never moved more than 4 percentage points before the ambient air pulled it back down. A humidifier or a properly sized pebble tray with standing water is the only thing that actually shifts the baseline.
Mistake 2: Window Light Isn’t the Same Thing as Full Sun
This one took me longer to accept than it should have.
Coffea arabica grown for commercial production gets 6–8 hours of direct sun even under shade cloth. My “bright indirect light” south-facing window was delivering, according to a lux meter I borrowed from a friend who grows vegetables under lights, about 1,200–1,800 lux on a clear day. Coffee needs closer to 10,000–15,000 lux to grow vigorously indoors, and significantly more to trigger the hormonal shift toward flowering.
The conventional indoor growing advice — bright window, indirect light — keeps the plant alive. It does not get you flowers or beans. There’s a meaningful difference between “not dying” and “productive,” and most beginners spend years in the first category wondering why they never reach the second.
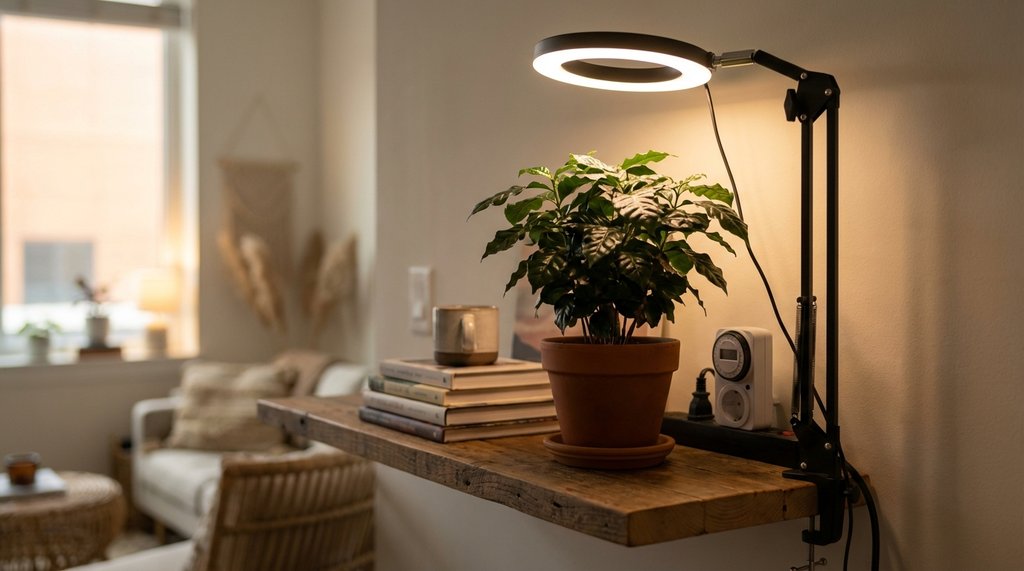
I added a single 45W full-spectrum LED grow light positioned about 18 inches above the canopy on a 14-hour timer. Within one growing season, the internodal spacing on new growth tightened noticeably (the stretched, leggy growth I’d been seeing is a textbook low-light response), and the following spring, I got my first cluster of white flowers. They smelled like jasmine mixed with something sweeter — one of those moments where the two years of waiting briefly felt reasonable.
The light doesn’t need to be expensive. The one I use cost $38 on Amazon. The timer is more important than the fixture.
Mistake 3: The Watering Schedule Is the Wrong Mental Model
I used to water on a schedule — every five days, same amount, same time. This is exactly wrong for coffee plants.
Coffee has a specific vulnerability to both overwatering and sudden drought that I didn’t fully understand until I dug into the root biology. The fine feeder roots are shallow and highly sensitive to oxygen deprivation. In a pot with slightly compacted soil — which happens naturally within a few months in most standard mixes — standing moisture at the root zone for more than 48 hours starts causing cellular damage that doesn’t show up as wilting or yellowing for another two to three weeks. By the time you see the leaf drop, you’re looking at damage that happened a month ago.
The fix isn’t a different schedule. It’s soil composition and a finger test.
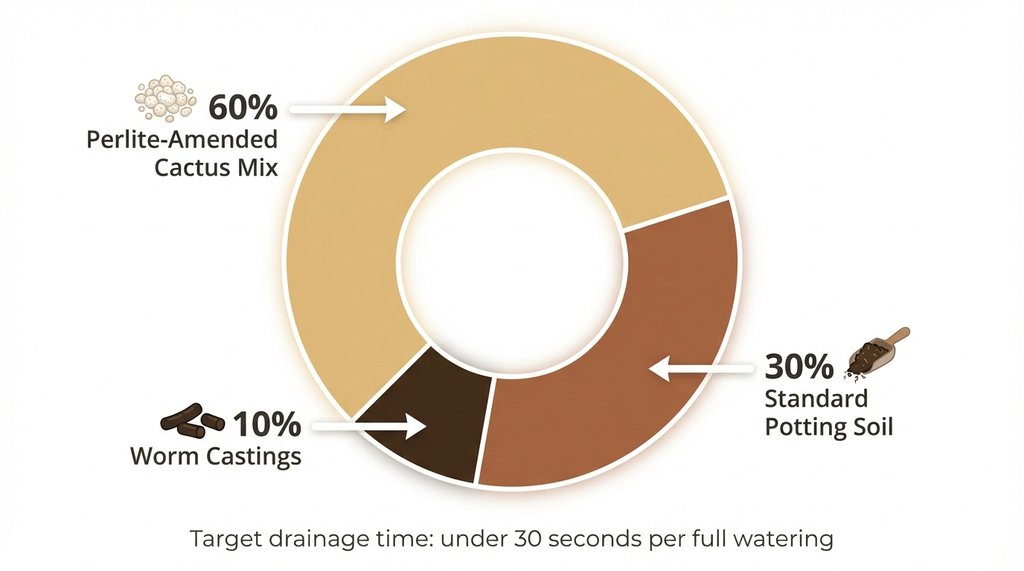
I now use a mix of 60% perlite-amended cactus mix, 30% standard potting soil, and 10% worm castings. This is coarser than what most people use for houseplants, and the first time I showed it to a friend she thought I’d made a mistake. But coffee roots in this mix drain in under 30 seconds from a thorough watering, which means the window of oxygen deprivation basically doesn’t exist.
I water when the top two inches are dry and the pot feels noticeably lighter when lifted. In summer, that’s about every 4–5 days. In winter, sometimes 10–12 days. A fixed schedule would have me either drowning or stressing the plant depending on the season.
Mistake 4: Repotting at the Wrong Time for the Wrong Reason
Going back to that third repotting: I was doing it because the plant looked stressed, which felt intuitive. Stressed plant, refresh the soil, give it more room.
What I didn’t understand is that coffee plants drop leaves as a stress response to root disturbance, and repotting a plant that’s already in a leaf-dropping cycle compounds the problem. I was essentially hitting a struggling patient with a second stressor and wondering why they weren’t recovering.
The correct repotting window for Coffea arabica is early spring, before new growth pushes, when the plant is coming out of its relative winter dormancy. Not when it looks bad. Not when you’re worried. Spring, specifically, because the root system is primed to repair and extend.
The other mistake I was making: going up more than 2 inches in pot diameter at a time. I went from a 6-inch to a 10-inch pot in one jump, which left a large volume of soil around the roots that stayed wet far longer than the roots could use the moisture. Root rot doesn’t always look like root rot from the outside — sometimes it just looks like a plant that’s inexplicably declining.
One-size-up, spring only. I’ve not repotted out of sequence since then, and I’ve not had a stress-related leaf drop episode that lasted more than two weeks.
Mistake 5: Using Tap Water Without Knowing What’s In It
Portland tap water is actually quite good — low chlorine, moderate hardness. I know this because after my plant started showing interveinal chlorosis on younger leaves (the veins stay green, the tissue between them turns pale yellow — classic iron deficiency presentation), I actually called the city water department and got the mineral report.
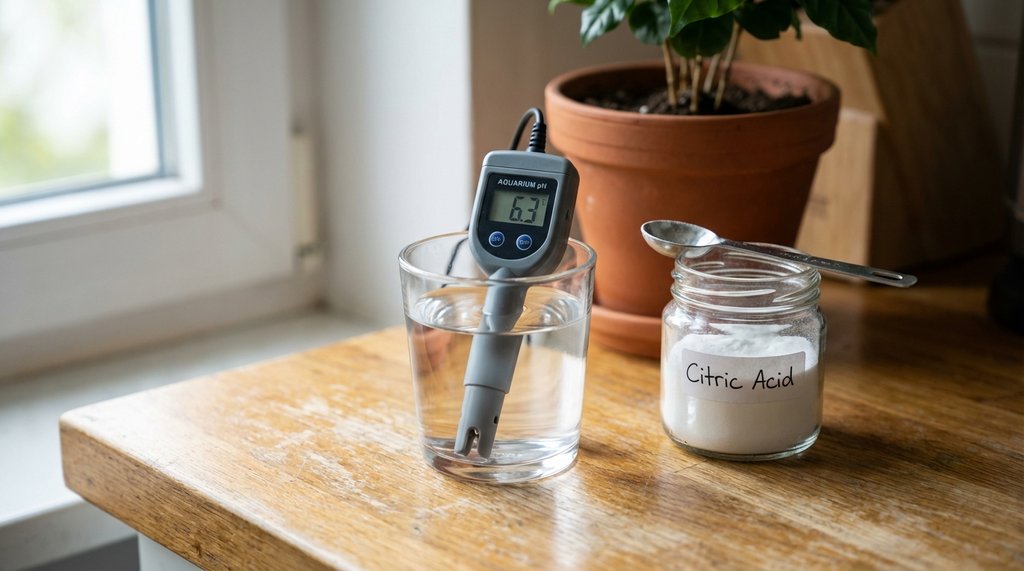
The issue wasn’t chlorine. It was pH. Portland municipal water runs around 7.8–8.2 pH, and coffee plants have a very tight optimal root zone pH range of 6.0–6.5. Above 6.8, iron and manganese become chemically unavailable to the roots even when they’re present in the soil. The plant wasn’t iron-deficient. It couldn’t access the iron that was there.
I started pH-adjusting my water down to 6.2–6.4 using a small amount of citric acid (about 1/4 teaspoon per gallon, then checking with a basic aquarium pH meter that cost $11). The chlorosis stopped within three watering cycles. New leaves came in fully green.
This is worth checking before you spend money on fertilizers. If your water pH is wrong, you can add all the nutrients you want and the plant will still show deficiency symptoms.
Mistake 6: Expecting Beans From a Plant That Hasn’t Reached Maturity
This one isn’t a care mistake exactly — it’s an expectation mistake that causes care mistakes.
Coffea arabica grown from seed doesn’t flower until it reaches reproductive maturity, which under typical indoor conditions takes 3–5 years from germination. Plants propagated from cuttings taken from mature specimens can flower earlier — sometimes in year two — but most plants sold in garden centers and online are either seedlings or very young specimens.
The reason this matters practically: a lot of people push harder on fertilization when flowering doesn’t appear on the timeline they expected. I did this. I bumped up nitrogen because I thought the plant needed to grow faster to get to flowering size. Excess nitrogen in a container plant at that growth stage pushes vegetative growth aggressively and actively delays the hormonal shift toward flowering. The plant puts everything into leaves and stems and has no metabolic signal to shift modes.
The counterintuitive correction: once a coffee plant reaches about 24–30 inches in height with good foliage density, reduce nitrogen and shift toward a lower-N fertilizer with moderate phosphorus — something closer to a 5-10-10 ratio. Slight root restriction (letting the plant stay slightly pot-bound rather than rushing to repot) also encourages the stress signal that tips the plant toward reproduction.
My plant flowered for the first time at 34 inches tall, in a pot it had been in for 14 months, after I switched to a bloom-supporting fertilizer and stopped trying to accelerate it.
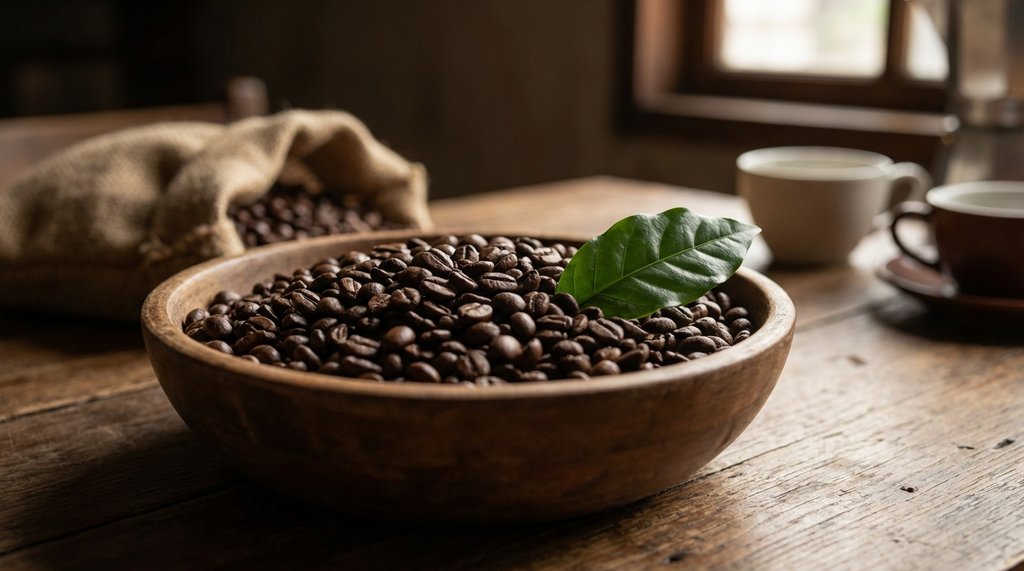
The beans, when they finally came, took another nine months to ripen from green to red. Fourteen cherries. I processed them wet, dried them on a mesh screen in my spare room for three weeks, roasted them in a small sample roaster at 400°F to a light city roast, and made a single four-ounce cup.
It tasted decent. Bright, slightly fruity, a little thin. Not good enough to justify the time if you’re doing the math on effort-to-output.
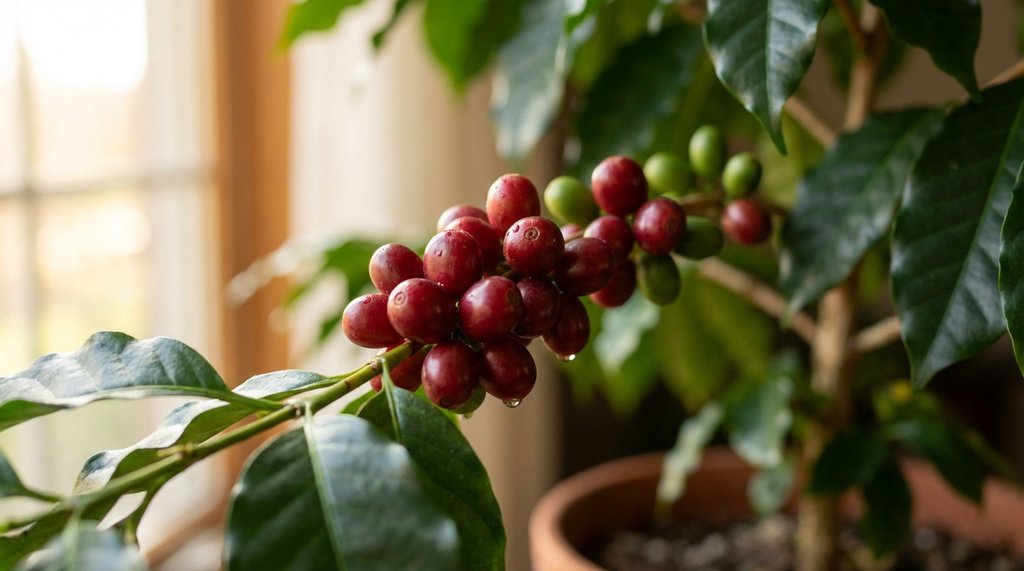
But that’s not actually why people grow coffee plants indoors, and I think the fixation on beans is what sends most beginners down the wrong path. The plant itself — the waxy dark leaves, the jasmine-scented flowers, the slow red blush of a ripening cherry — is genuinely worth the trouble once it’s healthy enough to show you all of it. Getting there just requires not making the same six mistakes for two years running.